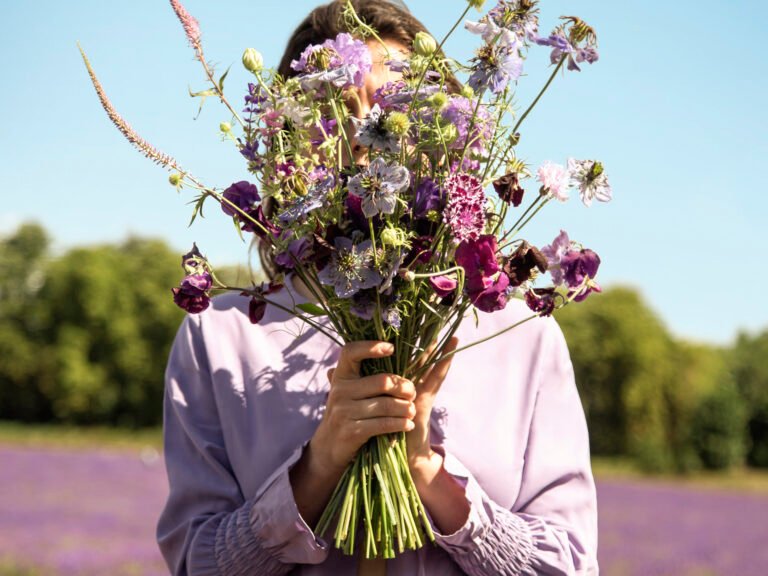
How to Get a Stunning Author Photo (and Why You Need One)
Stop “making do” with out-of-date, unflattering photographs of yourself and get an author photo that actually shows your personality. Find out the potential costs, how to dress, what to look for in a photographer, and how to have a great experience.
First of all, just in case you were hoping to duck the whole issue, let’s talk about why you need an author photo.
It might make you uncomfortable, but being a published author means your photo is now Out There. It’ll be on the inside jacket of your book, on the Amazon listing, and on your author website. It’ll be sent out to the media. If you do an event, there’ll be a photo of you in the programme and on the website.
Even if you’re an up-and-coming writer, the time will come when you’ll be asked for a photo of yourself. It might accompany an announcement like, “hey, you got shortlisted in a short story competition.”
There’s a certain mystique around being an author – that we waft around, thinking terribly hard and having flashes of inspiration. Of course this isn’t true, but it’s your job to uphold the fantasy.
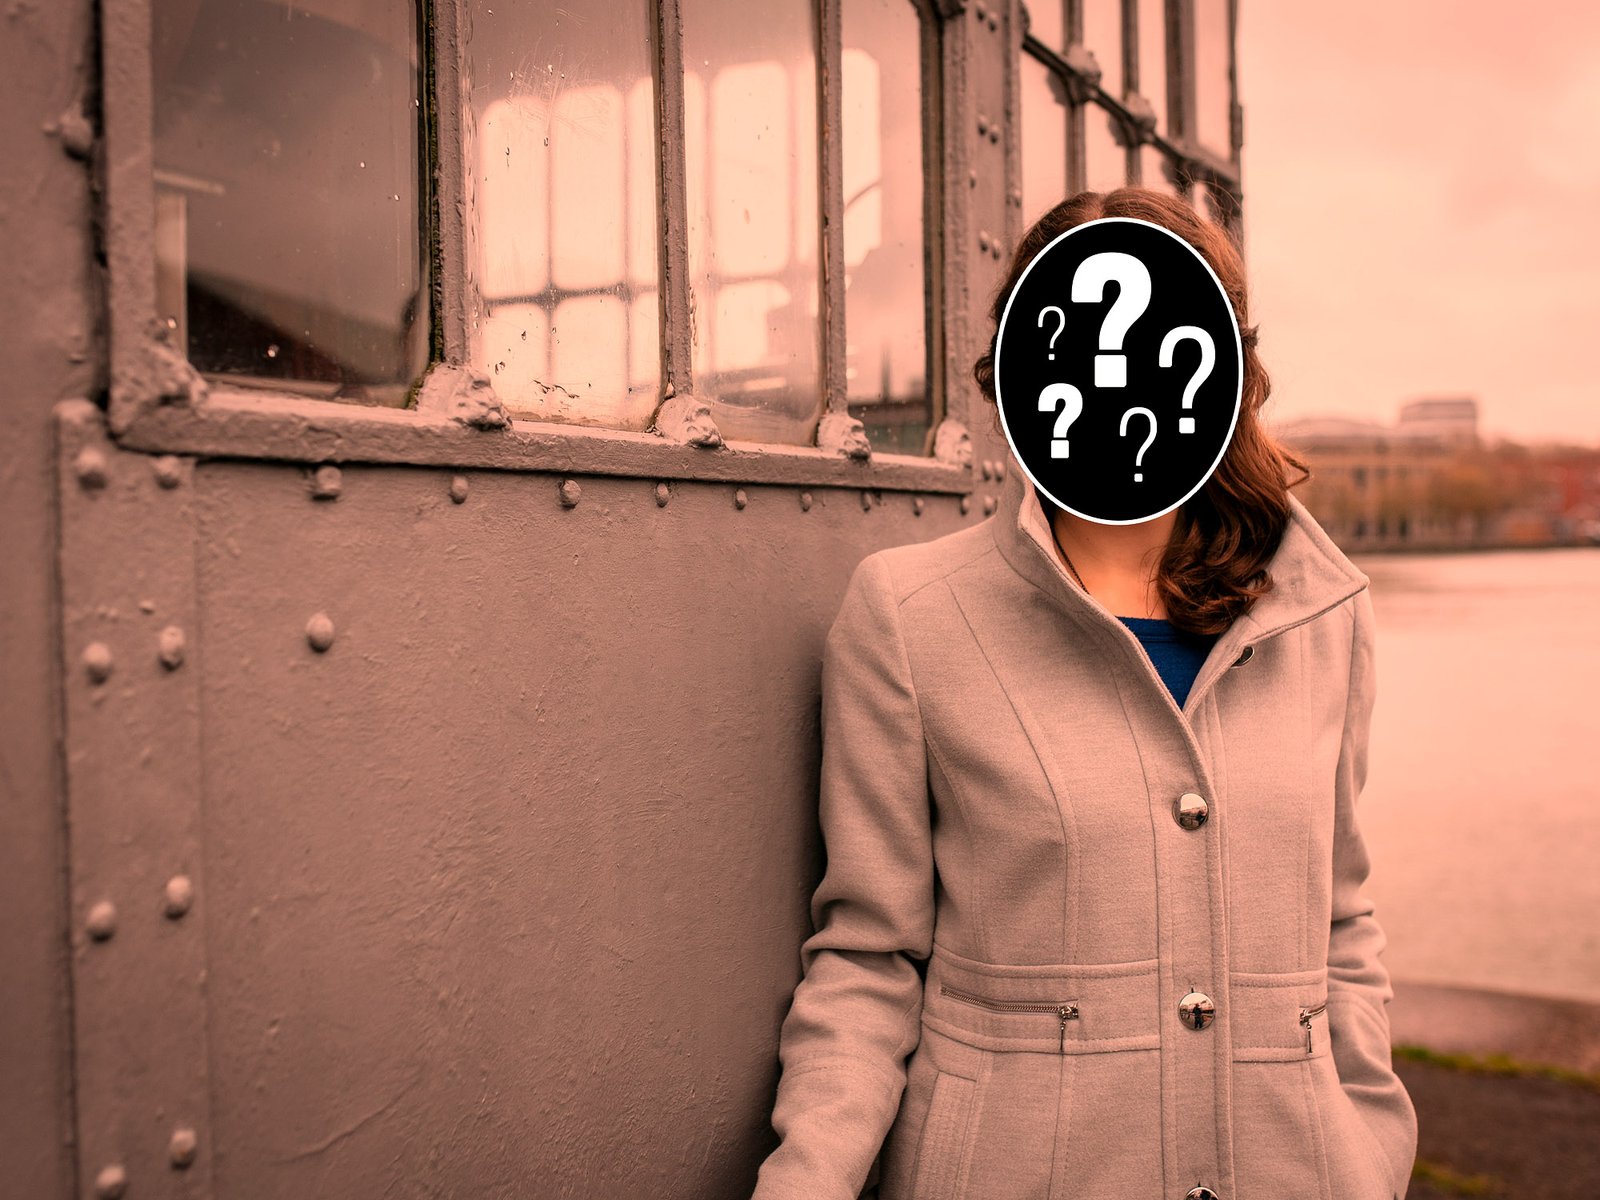
What will immediately destroy the fantasy? A bad author photo.
Examples of bad author photos
Here are some examples of bad author photos. All of them, sadly, are based on real author photos I’ve seen:
– A photo taken at a wedding (yes, it’s obvious you’re wearing a bridesmaid’s dress or a groomsman’s suit)
– A photo taken in a pub (yes, I can see the drink in your hand)
– A blurry candid taken by your mate after a few cocktails (I don’t care that you left the pub; it’s still a pub picture)
– A photo taken on holiday, where you’re wearing sunglasses (yes, Santorini looks lovely, but… c’mon)
– A photo from 10 years ago
– A headshot taken at one of those cheesy high street photography places
– A photo that you’ve put through a dozen filters so you look like a Martian
– A photo where you’re visibly sweaty
I know why authors pick photos like these. First, there’s the cost – it’s free! Second, that Santorini holiday pic brings back good memories, and don’t you look lovely and relaxed (and a bit sweaty)?
The trouble is, amateur photos look like amateur photos. The lighting, exposure and composition are wrong.
Bite the bullet and hire a photographer to take proper photos of you. Why? It’s the professional thing to do and you’re a professional.
Also, this is going to make your life easier in the long run. You’ll end up with a great photo and you won’t have to cringe every time you load an article about yourself and see the accompanying pic.
What to ask for from a professional photographer
The jargon you’re looking for when approaching a photographer (or googling around to find one in your local area) is: “I would like a personal branding photo shoot in reportage style.”
What does that mean in English? “Personal branding” means photos that are being taken to promote yourself. (People often get personal branding shoots if they’re starting a business or want better photos for their social media.)
“Reportage” (pronounced in the French manner; rep-or-tarj) is a looser, more “candid” style of photography, similar to what you might find in a photo-journalism series. It’s not supposed to feel posed. The vibe is, “oh, I just happened to glance around and the photographer caught me looking totally natural and happy, what an incredible coincidence.”
Costs for an author photo
Photographer costs vary hugely, depending on experience and location. I’ve found photographers who charge £1,000 per day. You can also probably find a guy on Gumtree who’ll do a photoshoot for £50.
However, as a very rough guide, here’s how much you can expect to pay in the UK: £550 for half a day’s photography, or £300 for a 90-minute session.
What length of photoshoot do you need?
Occasionally, you’ll find photographers who are willing to do a very quick photo shoot and present you with the best photo, but most of them will require you to do a photo shoot of one hour, 90 minutes, or two hours, at a minimum.
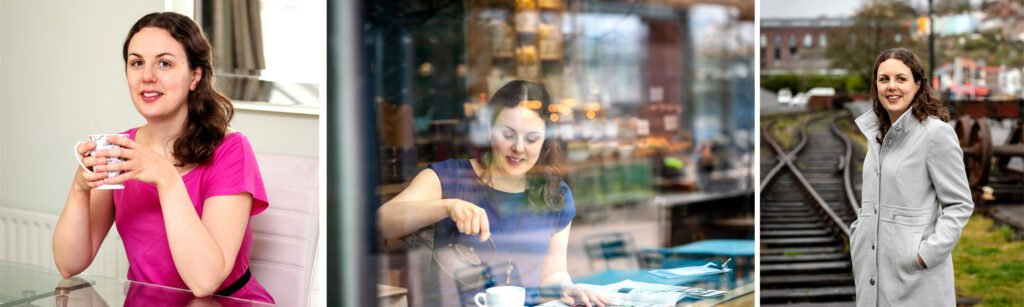
My personal opinion is that, once you’ve committed to getting author photos, actually commit. Get a whole raft of pictures taken, in different locations and in different outfits (see below), so you’ll have plenty of options to choose from. It also gives you different photos to use on your social media and across your author website.
Choosing the right photographer
The most important thing is to find a photographer who makes you feel comfortable. If you’re uncomfortable, it will show in your face. Instant bad photos!
For this reasons, you should get recommendations from friends and other authors in your area. Wedding photographers often handle personal branding shoots as well, so ask people in your circle who’ve recently tied the knot.
Picking a location for your author photo shoot
There are a few options of locations to consider for your photo shoot:
– Your home
This has the advantage of being easy. You’ll also be able to touch up make-up or change clothes quickly if you’re at home. The downside is that most homes (mine included) are too cluttered to be photogenic. You should also think about lighting, because a dark room or electric light can be unflattering. A house that’s light and airy, with a “show home” vibe to it will look better on camera.
– A friend or family member’s home
If there’s a friend who does have that show-home look to their house, it’s worth asking if you can borrow it for a few hours.
– A studio space
By studio, I don’t mean a warehouse which has a white screen in one corner. There are many studios out there, hireable by the hour, which are set up to look like a stylish living room. They’re often used by influencers who don’t want to shoot photos/videos in their own homes.
– A local café
If there’s a café nearby that has a cool vibe, consider having photos taken there. Most cafes won’t mind, as long as you buy something and don’t loiter too long.
– An outdoor area
Outdoor photos are usually much more lively and interesting than indoor ones. The lighting is immediately better as well. Consider local landmarks, historical places and natural beauty spots. Better yet, pick a place that has significance to you and it will make the photos feel special.
(The best of all worlds is to pick an outdoor location that’s close to either your own home or a friend’s home, so you can do both indoor and outdoor shots.)
Create a mood board
If you’re not sure where to locate your author photo shoot, now’s a good time to start compiling your mood board. Yes, you need a mood board. It might feel a little silly, but it’s extremely important for communicating what you want to your photographer.
A mood board is simply a collection of photos similar to what you would like to achieve from your shoot. Similar style. Similar poses. Similar backgrounds. Similar “vibe”.
Google around, looking at other personal branding photo shoots, and save any pics that you like. Look for any commonalities in these photos. Paste the best ones into a Word document and send it to the photographer.
What should you wear for your author photo shoot?
What to wear is potentially the most nerve-racking part of preparing for a photo shoot. Suddenly you hate all your clothes and would rather go naked! (Well, that would make for a memorable shoot.)
My advice is to stick to classic cuts in a single colour. For example, a timeless dress that’s solid green, or a shirt that’s bright red. Unfortunately, patterns can look too busy on camera, so they’re best avoided.
Of course, the best thing you can do is bring plenty of options of clothing to your photo shoot. You could wear your favourite shirt and end up hating how it looks in every shot. This is why it’s good to change clothes and mix it up. Remember what I said earlier about having a convenient place to change clothes?
If you’ve chosen an outdoor location where you can’t change your clothes, this is where layering is your friend. Wear an outfit where every layer looks flattering on you, from winter coat to sweater to long-sleeve top to camisole.
Do you need professional make-up and hair styling?
It’s completely up to you whether you decide to hire a make-up artist or hair stylist to get you ready for the photo shoot. If you’re willing to spend the money and it would make you feel more comfortable, do it.
However, it’s not essential. You’re having an author photo taken; you’re not posing for Vogue. No one’s expecting you to look perfectly made-up. Above all else, you should look like… you.
My advice is to wear the same amount of make-up you would normally wear, plus a little extra, in terms of mascara and lipstick.
How to pose
There are loads of videos on YouTube dedicated to posing for photos. Here are a couple of good ones:
How to pose for people who are not models
Your mood board should also be a source of good poses that you can copy.
However, I’ll be completely honest with you: I watched YouTube, I practiced poses… and then when there was a camera in my face, I forgot it all.
The good thing about reportage style is that poses aren’t essential. The idea is to look natural. Therefore I’m giving you permission not to practice posing at all.
I will say that it’s useful to have something to do with your hands. Pockets are excellent for this, so bring clothing with pockets. Bringing props can also be helpful: a handbag or a notebook can give you something to do with your hands. If you’re at home, or in a café setting, holding a mug can also be a nice touch.
Happy or stern? What emotion are you trying to convey?
One aspect to zero in on when you’re compiling your mood board is figuring out what emotion to want your face to convey. Authors of dark genres may prefer to look stern or haunted or mysterious. Authors of lighter reads may want to look flirty or sweet or approachable.
I will say that I, personally, prefer photos where I’m smiling, so although I write crime, all of the pictures where I was staring moodily into middle-distance made me go “yuck”.
However, during your photo shoot, it’s worth emphasising to your photographer that you’d like to try a range of different moods, both happy and stern.
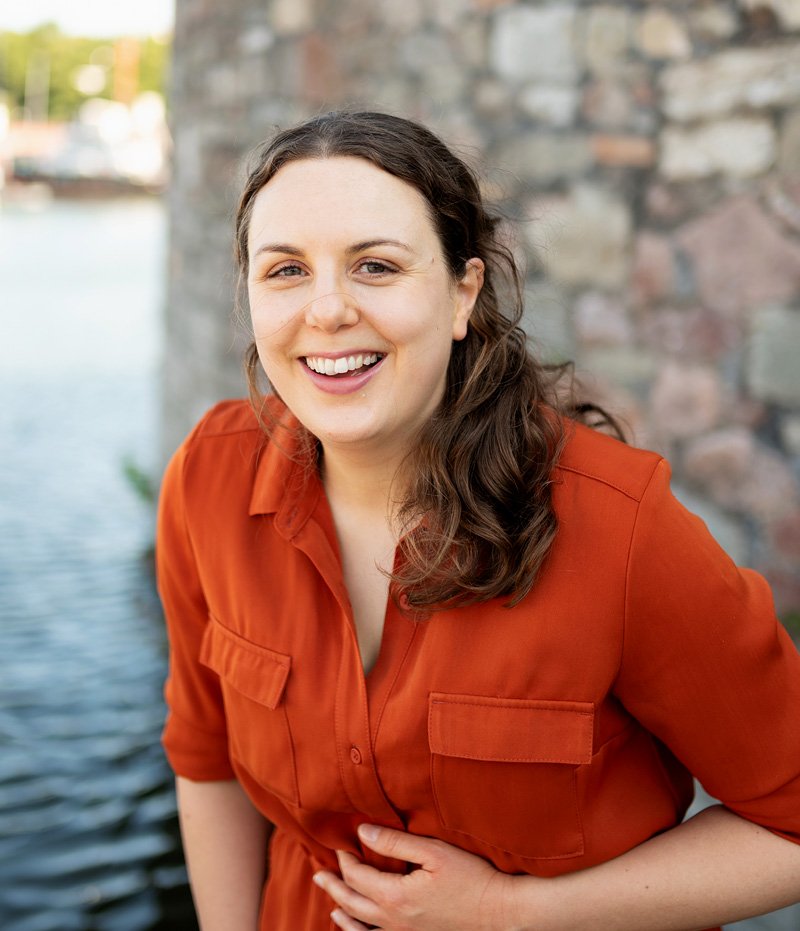
A final tip: if in doubt, try fake laughter!
Here’s a true fact: smiling is hard work. Over the course of your photo shoot, you’ll get exhausted and it will show in your face. My tip for combatting this is a simple one: try fake laughing.
Yes, it will feel weird and embarrassing, but strangely enough, your fake laughter will turn to real laughter and it will light up your face.
I got my favourite photo from a fake-laughing session at my last photo shoot. It’s the one that ended up on the inside cover of my latest novel. Thank God for fake laughing is all I can say.
I hope these tips have been useful. Once you have a fun, personality-filled author photo in your armoury, what’s next? An author website, of course.